
ServiceAccount is used in Kubernetes to provide an identity to pods. Every Pod that wants to interact with the API Server must authenticate with a specific ServiceAccount. By default, the “default” ServiceAccount is used. In this entry, “Using ServiceAccount in Kubernetes,” we will see how we can communicate with the API Server from a Pod. If you want to start with an introduction to Kubernetes, take a look at previous entries.
What is the API Server?
The API Server is a component of Kubernetes that validates and configures all the information for Kubernetes objects. The API Server is essentially a REST service that provides information and allows interaction with the components.
The kube-apiserver is a component of the Control Plane and is responsible for intercepting and processing user and external REST calls. During this processing, it reads the state of the Kubernetes cluster to provide the desired state.
Communication with the API Server
As mentioned in the introduction, each Pod uses a ServiceAccount that contains a token to authenticate and communicate with the API Server.
To communicate with the API Server, we can either not create a specific ServiceAccount, in which case the default ServiceAccount will be assigned, or we can create one:
kubectl create serviceaccount test
Roles, ClusterRoles, RoleBinding, and ClusterRoleBinding
To communicate with the API Server, we will use a token, to which we can also assign Roles and ClusterRoles. These roles contain rules that represent a set of permissions, which are additive, meaning they don’t have the ability to deny or reject any permissions. A Role can add permissions within a namespace, whereas if you want to add permissions across the entire cluster, you’ll need to do it through ClusterRole.
For both Roles and ClusterRoles to be effective, you need to use RoleBinding and ClusterRoleBinding. The former assigns permissions within a defined namespace, while the latter gives access to the entire cluster.
Communication with the API Server
As mentioned above, each Pod will use a ServiceAccount with a token and established roles to access the API Server, which we can:
- Access from within the Cluster: The API Server can be accessed from within by using the dedicated ClusterIP service called “Kubernetes.” Run
kubectl get svcto see it. - Access from outside the Cluster: To access it from outside the cluster, you can check the endpoint in the
$HOME/.kube/configdirectory.
Obtaining the ServiceAccount’s JWT Token
Every time a namespace is created, a default ServiceAccount is assigned to it, called “default.” You can use the following command to verify it:
kubectl get sa --all-namespaces
As mentioned earlier, each ServiceAccount carries an associated token that is necessary to communicate with the API Server. To view it, execute the following command to get information about the default ServiceAccount:
kubectl get sa default -o yaml
The above command returns:
apiVersion: v1
kind: ServiceAccount
metadata:
  creationTimestamp: "2020-09-08T16:02:50Z"
  name: default
  namespace: default
  resourceVersion: "398"
  selfLink: /api/v1/namespaces/default/serviceaccounts/default
  uid: c6fd23a3-1dcc-4b7f-9d79-81aecaf74306
secrets:
- name: default-token-jwmt9
In the above information, we can see a secret named “default-token-jwmt9,” so let’s check its contents:
kubectl get secrets default-token-jwmt9 -o yaml
Remember, we added
-o yamlto display the output in YAML format.
We get a YAML, somewhat like the following:
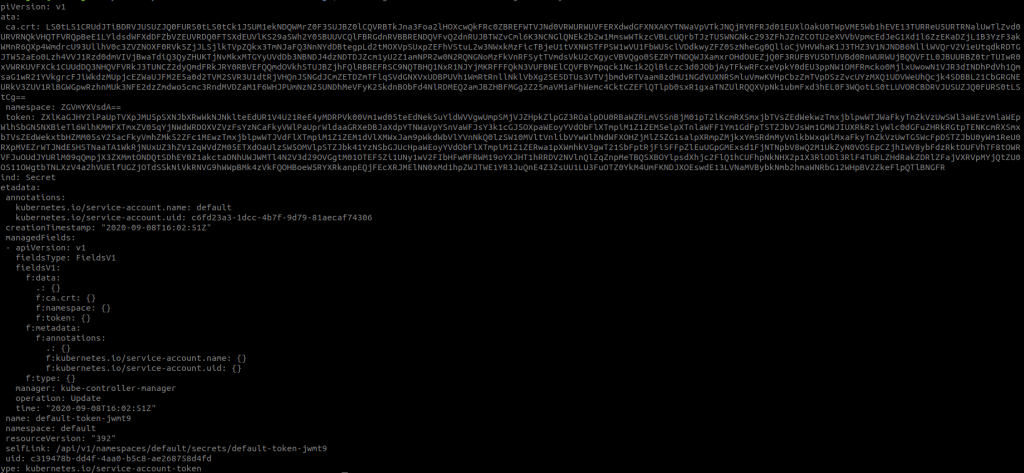
Let’s examine it in more detail:
apiVersion: v1
data:
  ca.crt: LS0tL...XVsdA==
  token: ZXlKa...
kind: Secret
metadata:
  annotations:
    kubernetes.io/service-account.name: default
    kubernetes.io/service-account.uid: c6fd23a3-1dcc-4b7f-9d79-81aecaf74306
  creationTimestamp: "2020-09-08T16:02:51Z"
  managedFields:
  - apiVersion: v1
    fieldsType: FieldsV1
    manager: kube-controller-manager
    operation: Update
    time: "2020-09-08T16:02:51Z"
  name: default-token-jwmt9
  namespace: default
  resourceVersion: "392"
  selfLink: /api/v1/namespaces/default/secrets/default-token-jwmt9
  uid: c319478b-dd4f-4aa0-b5c8-ae268758d4fd
type: kubernetes.io/service-account-token
As we can see in the above YAML, there are two points to highlight:
- ca.crt: It is the Base64-encoded CA of the cluster.
- token: It is the Base64-encoded JWT token used to authenticate against the API Server. It can be copied and pasted and viewed at jwt.io.
Calling the API Server using the ServiceAccount’s JWT Token
Using the default ServiceAccount
First of all, let’s create a Pod with the typical Alpine image, and since we’re not assigning any ServiceAccount, it will use the default one:
apiVersion: v1
kind: Pod
metadata:
  name: serviceaccount-demo
  labels:
    purpose: demonstrate-serviceaccount-demo
spec:
  containers:
  - name: serviceaccount-demo
    image: alpine:3.9
    command: ["sleep", "10000"]
  restartPolicy: OnFailure
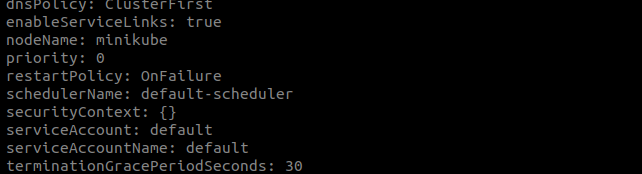
Let’s make sure the created ServiceAccount is the default one:
kubectl get po/serviceaccount-demo -o yaml
Calling the ServiceAccount with the token
Once the Pod is deployed, let’s make a call to the API Server using the ServiceAccount’s token. To do this, let’s access the container:
kubectl exec -ti serviceaccount-demo -- sh
and install curl inside it:
apk add --update curl
Get the TOKEN located at /run/secrets/kubernetes.io/serviceaccount/token:
TOKEN=$(cat /run/secrets/kubernetes.io/serviceaccount/token)
curl -X GET --header 'Authorization: Bearer $TOKEN' https://kubernetes/api/v1/ --insecure
You will see a list of resources that you have access to with that token.
Using a created ServiceAccount
Let’s first create a service account:
kubectl create serviceaccount serviceaccount-test
After creating the service account, we will create a set of rules by creating a Role, as mentioned in the Roles section:
apiVersion: rbac.authorization.k8s.io/v1
kind: Role
metadata:
 name: list-pods
 namespace: default
rules:
 — apiGroups:
   — ''
 resources:
   — pods
 verbs:
   — list
kubectl apply -f role.yaml
Once the role is created, we need to bind it to the service account using a RoleBinding:
apiVersion: rbac.authorization.k8s.io/v1
kind: RoleBinding
metadata:
 name: list-pods_servicaccount-test
 namespace: default
roleRef:
 kind: Role
 name: list-pods
 apiGroup: rbac.authorization.k8s.io
subjects:
 — kind: ServiceAccount
   name: serviceaccount-test
   namespace: default
After executing the previous file with the usual command: kubectl apply -f file.yaml, we can list the pods within the namespace under the defined rules.
Let’s associate the service account with a pod by using the following configuration:
apiVersion: v1
kind: Pod
metadata:
  name: serviceaccount-test
  labels:
    purpose: demonstrate-serviceaccount-demo
spec:
  serviceAccountName: demo-sa
  containers:
  - name: serviceaccount-demo
    image: alpine:3.9
    command: ["sleep", "10000"]
  restartPolicy: OnFailure
With the creation of this Pod, we have associated it with the created service account. If, as we did before, we make a call, but to the default namespace, we will obtain the list of running pods, as defined in the roles. In this case, we would make the following call:
https://kubernetes/api/v1/namespaces/default/pods/
Conclusion
Let’s summarize what we have seen in the article “Using ServiceAccount in Kubernetes.“
By default, each Pod can communicate with the API Server within its own Pod. When creating a Pod, we can choose not to create a specific ServiceAccount, in which case the default one will be used. However, the default ServiceAccount has limited permissions, so it is better to generate a ServiceAccount for our application and provide the necessary permissions, as we have seen before.
In the end, the API Server functions as a REST API, so with the correct token that we can find by accessing the container’s secrets, we can make calls to it.