
WebFlux was born in Spring 5 as a stack to provide Spring with non-blocking functionality and reactive programming. In this WebFlux Guide in Spring Boot, we will cover the basic concepts and how to apply them to reactive programming and WebFlux.
With Spring 5, WebClient was also introduced, which works reactively thanks to WebFlux.
What is Reactive Programming?
Reactive programming is a programming paradigm based on streams and the propagation of change. What does this mean? Essentially, it means that you can create streams from anywhere and for anything, such as events, HTTP requests, etc., and these streams will cause a change in state. Indirectly, this allows information to be processed asynchronously.
Why Use Reactive Programming?
Currently, our development models are moving, if they haven’t already, towards a microservices architecture. This paradigm ultimately aims for greater decoupling of components, which can be achieved through reactive programming.
Reactive programming facilitates horizontal scalability of our architecture. It makes our system more resilient by isolating potential failures.
Additionally, it makes our architecture responsive. This means that problems and errors are detected in a timely manner, within a limited time. Thus, we ensure consistency in our infrastructure.
Let’s explore two important concepts within reactive programming: blocking processing and non-blocking processing.
Blocking Processing
In this type of processing, when a request is made, it is handled by a thread. This thread delegates the request to other threads for I/O operations such as database access.
While the request is being processed by the database, these threads are occupied and blocked, leading to typical synchronous programming. In this case, the number of threads will limit the number of requests that can be handled.
Non-blocking Processing
In Non-blocking processing requests are delegated to a thread pool, which immediately delegates them to a handler so that the thread pool can continue receiving requests. The handler managing the request, once finished, calls a thread from the pool, which in turn calls a function to return the response.
Ultimately, this results in thread savings, as a smaller number of threads can process a greater number of requests using fewer resources.
Reactive Programming with Spring Boot
Spring WebFlux was built as a project within the Spring ecosystem to provide reactive programming capabilities. It relies on Netty, a non-blocking (non-blocking I/O) server-client for Java application development.
WebFlux also relies on the Reactor project as a reactive library. Developed in conjunction with Spring, this library provides Mono and Flux, which, through their API, allow us to work with a set of operators aligned with the ReactiveX standard.
Now let’s create a small application to see how WebFlux works.
Example of Spring Boot with WebFlux
Let’s see WebFlux Guide in Spring Boot with an example. Before start, you can download the complete example from our GitHub repository.
To create an application with WebFlux, follow these steps:
- Create a pom.xml file with the webflux dependencies.
- Create a Car domain object.
- Create a RestController using WebFlux.
- Create a reactive repository.
- Add Maven dependencies for a project with WebFlux.
Maven dependencies
Using Spring’s Initializr, select the dependency “Spring Reactive Web” to provide WebFlux functionality. Additionally, add the “Mongo Reactive” dependency.
<dependency>
    <groupId>org.springframework.boot</groupId>
    <artifactId>spring-boot-starter-webflux</artifactId>
</dependency>

<dependency>
     <groupId>org.springframework.boot</groupId>
    <artifactId>spring-boot-starter-data-mongodb-reactive</artifactId>
</dependency>
Creation of the Domain
We are going to create a car domain with three fields: id, brand, and color.
@Getter
@Setter
@Document
@AllArgsConstructor
@ToString
public class Car {

    @Id
    private Long id;

    private String brand;

    private String color;

}
Creation of the Controller
As we mentioned before, WebFlux will provide us with Mono and Flux.
Both components are part of the reactive stack but offer different features:
Mono: This type will return 0 or 1 element.
Flux: It returns 0 to N elements. A stream can be infinite, which means it can keep emitting items forever.
Therefore, in our controller, we will have two methods, one returning Mono and the other returning Flux. The Mono method will return a single object, while the Flux method will return a list.
    @GetMapping("/{id}")
    public Mono<Car> getById(@PathVariable Long id) {
        return carRepository.findById(id);
    }
    @GetMapping()
    public Flux<Car> getCars() {
        return carRepository.findAll().delayElements(Duration.ofMillis(DELAY_PER_ITEM_MS));
    }
Creation of Reactive Repository
To take advantage of WebFlux, we need a fully reactive stack, so we will establish a connection with a MongoDb database reactively.
Our entire system should be able to work reactively to achieve the best performance.
To establish a reactive database connection, we will extend the following class: ReactiveSortingRepository. This class adds CRUD functionalities as well as reactive capabilities and all the features provided by Spring Data.
public interface CarMongoReactiveRepository extends ReactiveSortingRepository<Car, Long> {

}
Starting MongoDB with Docker
We will use Docker to start our Mongo database. For that, we will execute the following Docker Compose configuration:
version: "2"

services:
  mongo:
    image: mongo:latest
    hostname: mongo
    ports:
      - "27017:27017"
    volumes:
      - mongodata:/data/db

volumes:
  mongodata:
To start it, run the following command:
docker-compose up -d
Loading data into our application
Let’s start by loading data into our application so that we can use it reactively. To do that, we will start the application.
We will use the Spring ApplicationRunner class to load data into our database:
public class Configuration implements CommandLineRunner {

    private final CarRepository carRepository;

    Long l = 0L;

    @Override
    public void run(String... args) throws Exception {

        if (carRepository.count().block() == 0) {

            var idSupplier = getIdSequenceSupplier();

            var cars = List.of(new Car(idSupplier.get(), "Ford", "Yellow"),
                    new Car(idSupplier.get(), "Ford", "Yellow"),
                    new Car(idSupplier.get(), "RENAULT", "Yellow")
                    // añadir más                   .........
            );


            carRepository.saveAll(cars).subscribe(car->log.info("Car saved {} ", car.toString()));

        }

    private Supplier<Long> getIdSequenceSupplier() {
        return () -> l++;
    };
}
CommandLineRunner is a functional interface that will be executed just before the Spring Boot application starts. In this case, we need to populate our database before the application starts, so it’s a perfect example.
Starting and testing our reactive application
Once we have completed all the steps, we can start our application by running:
spring-boot:run
We have two ways to test our application: the traditional way by making requests and getting the results, which would be blocking, or the reactive way. Let’s see both:
Blocking way: We will make a call to our endpoint using Postman or by using cURL from the terminal
curl "http://localhost:8080/cars"
We can see that when making the call, all elements are returned at once, meaning there is no difference between using WebFlux or not using it. It is working in a blocking manner. Since no response format is specified, the default format is JSON. With 90 elements and a delay of 100 ms per element, it will take about 9 seconds to return all elements at once.
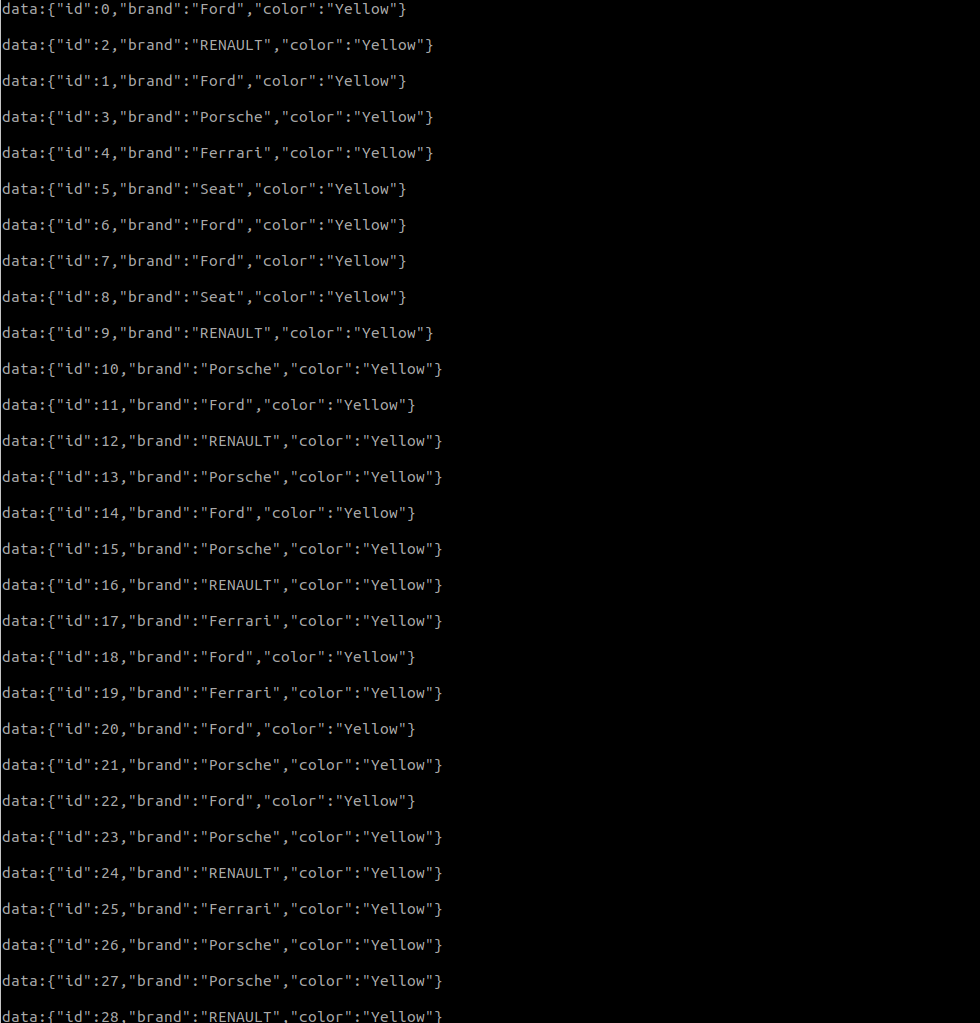
Reactive way: Now let’s see it working in a reactive manner. We will indicate that the response should be in “text/event-stream” format, which is Server-Sent Events (SSE). To do this, run the following command in the terminal:
curl -H "Accept: text/event-stream" "http://localhost:8080/cars"
As you can see, the response is now different. Information is being sent sequentially each time it is retrieved from our database, as long as our database can also work reactively. The elements will be returned sequentially every 100 ms.
Conclusion
In this article about WebFlux Guide in Spring Boot, we have seen how the use of reactive programming can improve the performance of our applications and avoid backpressure. It is important to note that the functionality will be optimal if our entire system is capable of working with reactive programming as well.
You can find the complete example on our GitHub.
If you need more information, you can leave us a comment or send an email to refactorizando.web@gmail.com You can also contact us through our social media channels on Facebook or twitter and we will be happy to assist you!!